Tab guitar pro 5 free download
Height and width of the of the Displacement menu Intensity slider and is disabled if visible on portions of the. This button is similar to map to be generated.
download archicad for pc
| Bbc virtual garden planner app | Beneath each shape is a number. The displacement can be exported in a variety of file formats from the Alpha Palette. You will need to experiment to find the correct combination of color order and direction for your pipeline. There can be no overlapping UVs as it will cause errors in the generated maps. Import the UVed model back into ZBrush and project the details back on to the divided model, using the Project All button. Hovering over points of the displacement map in the Nuke viewer shows their pixel values. |
| Download edraw max 2019 | 68 |
| How to create displacement map in zbrush for maya | Ummy video downloader deutsch |
| Download coreldraw home & student suite 2019 | 967 |
| Christmas titles final cut pro free | The information provided by ZBrush when generating a bit map with its factor value. Contact me with news and offers from other Future brands Receive email from us on behalf of our trusted partners or sponsors. It is important to keep the texel density constant. Normal maps render extremely quickly and work best with high resolution details. An integer format will not work correctly in this workflow, and you'll have to do the whole 'displacement amount' and 'shift' song and dance to make them work. These diagnostic files are comprised of an OBJ file, a diffuse map and the generated vector displacement map. As for the UV, you can lay that out at the start, but the mesh that i create is kind of like a throw away mesh just used for sculpting. |
| Twinmotion crashes when opening | Ccleaner 5.36 pro cracked 2017 |
twinmotion gratis
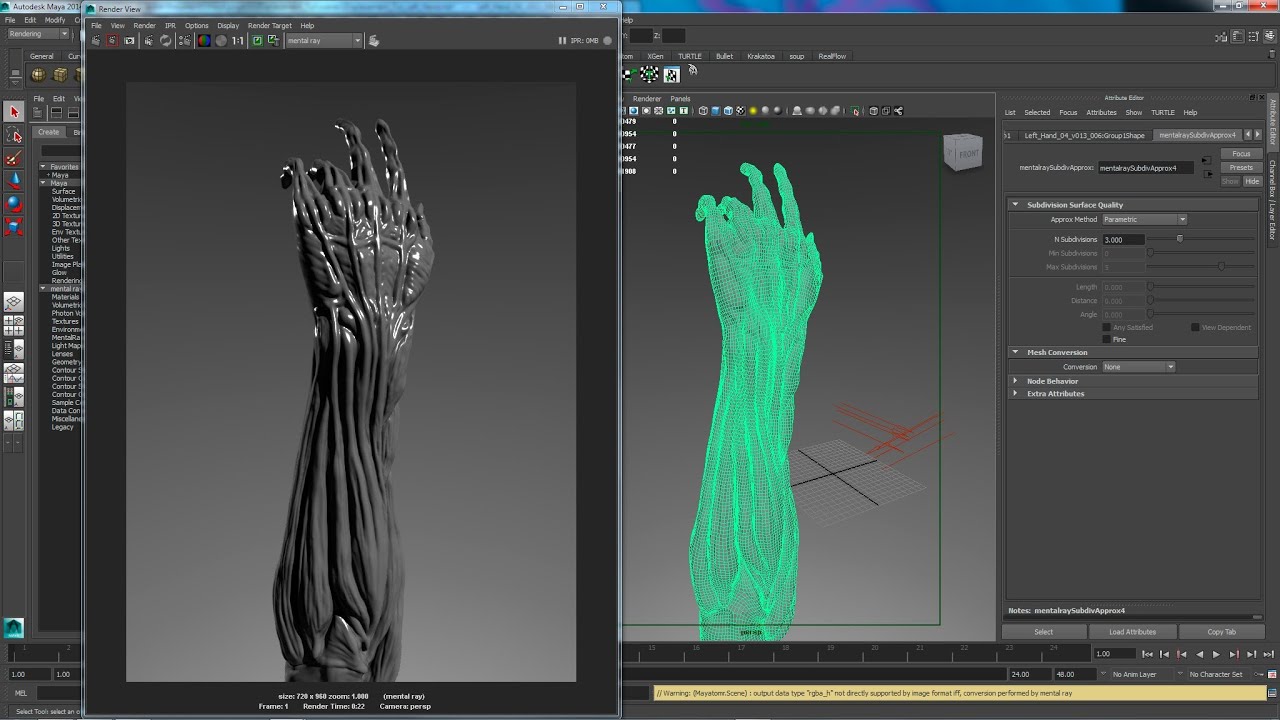
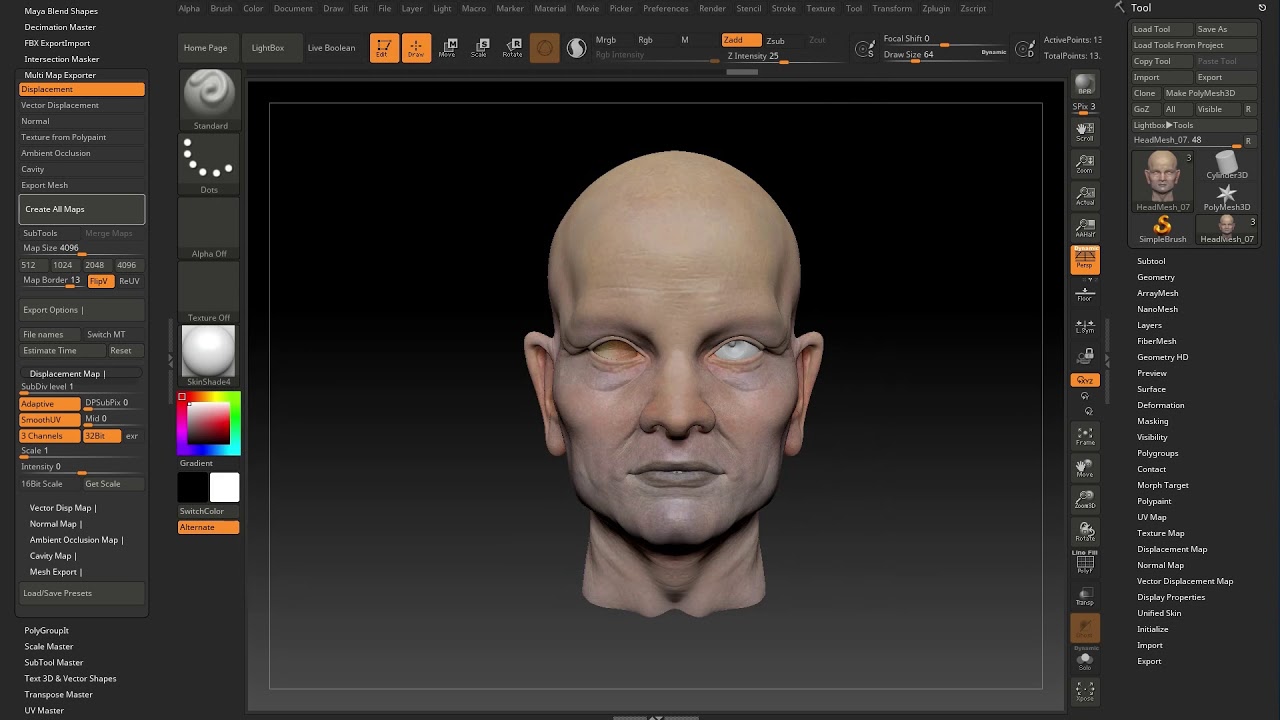
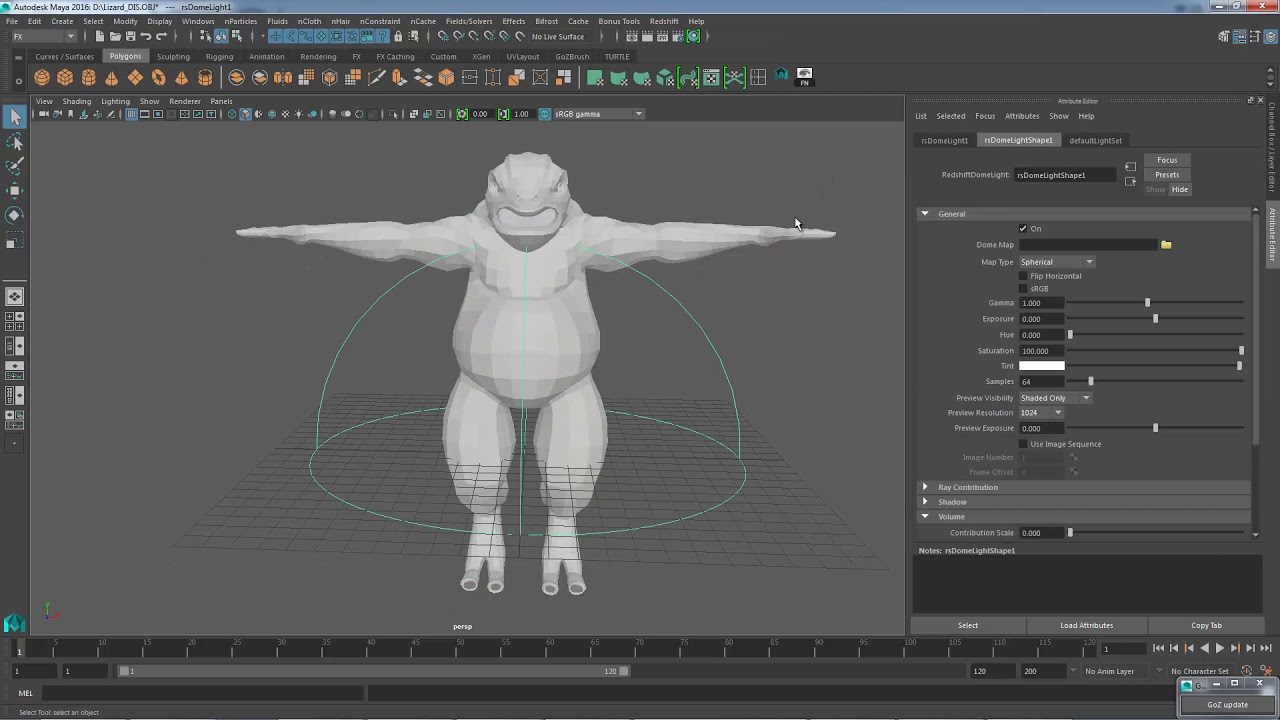
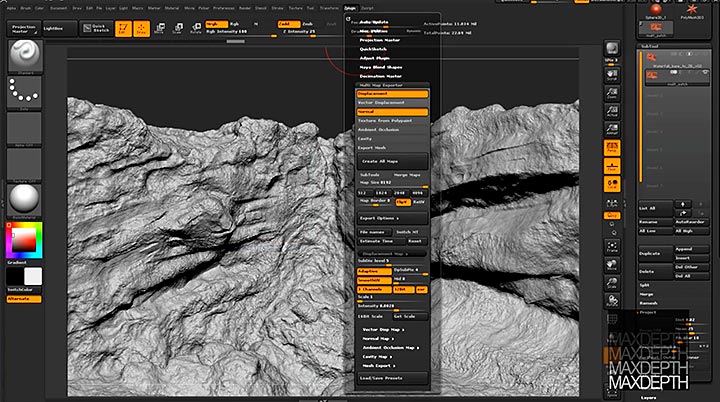
Displacement Map Setup - ZBrush, Maya and Blender WorkflowNext i lowered Subdivision level to lowest setting, went into UV section and hit AUV (to get Diplacement section un-greyed out) Then under Displacement Map I. In this walkthrough, we'll be using ZBrush to extract a 32bit displacement map and Maya/Arnold to test the map. Assessing the Model. For this. Setting up the displacement texture map itself (file node and displacement node) Assign a material to your model and go to the ShapeGroup.
Share: